
Wade’s Buddha and lotus sleeve, and how we got started.
Wade first got in touch while I was on holiday in Chengdu, China. Such an amazing and different place.
I actually remember sitting in a tea house when his email came through, drinking tea and watching people having their ears cleaned. It’s called cǎi ěr, and there were tiny metal tools, feathers and even tuning forks involved. Pretty scary if you ask me. I was happy sticking to my tea.
But anyway, we exchanged a few emails about his sleeve and agreed to meet up once I was back in Melbourne.
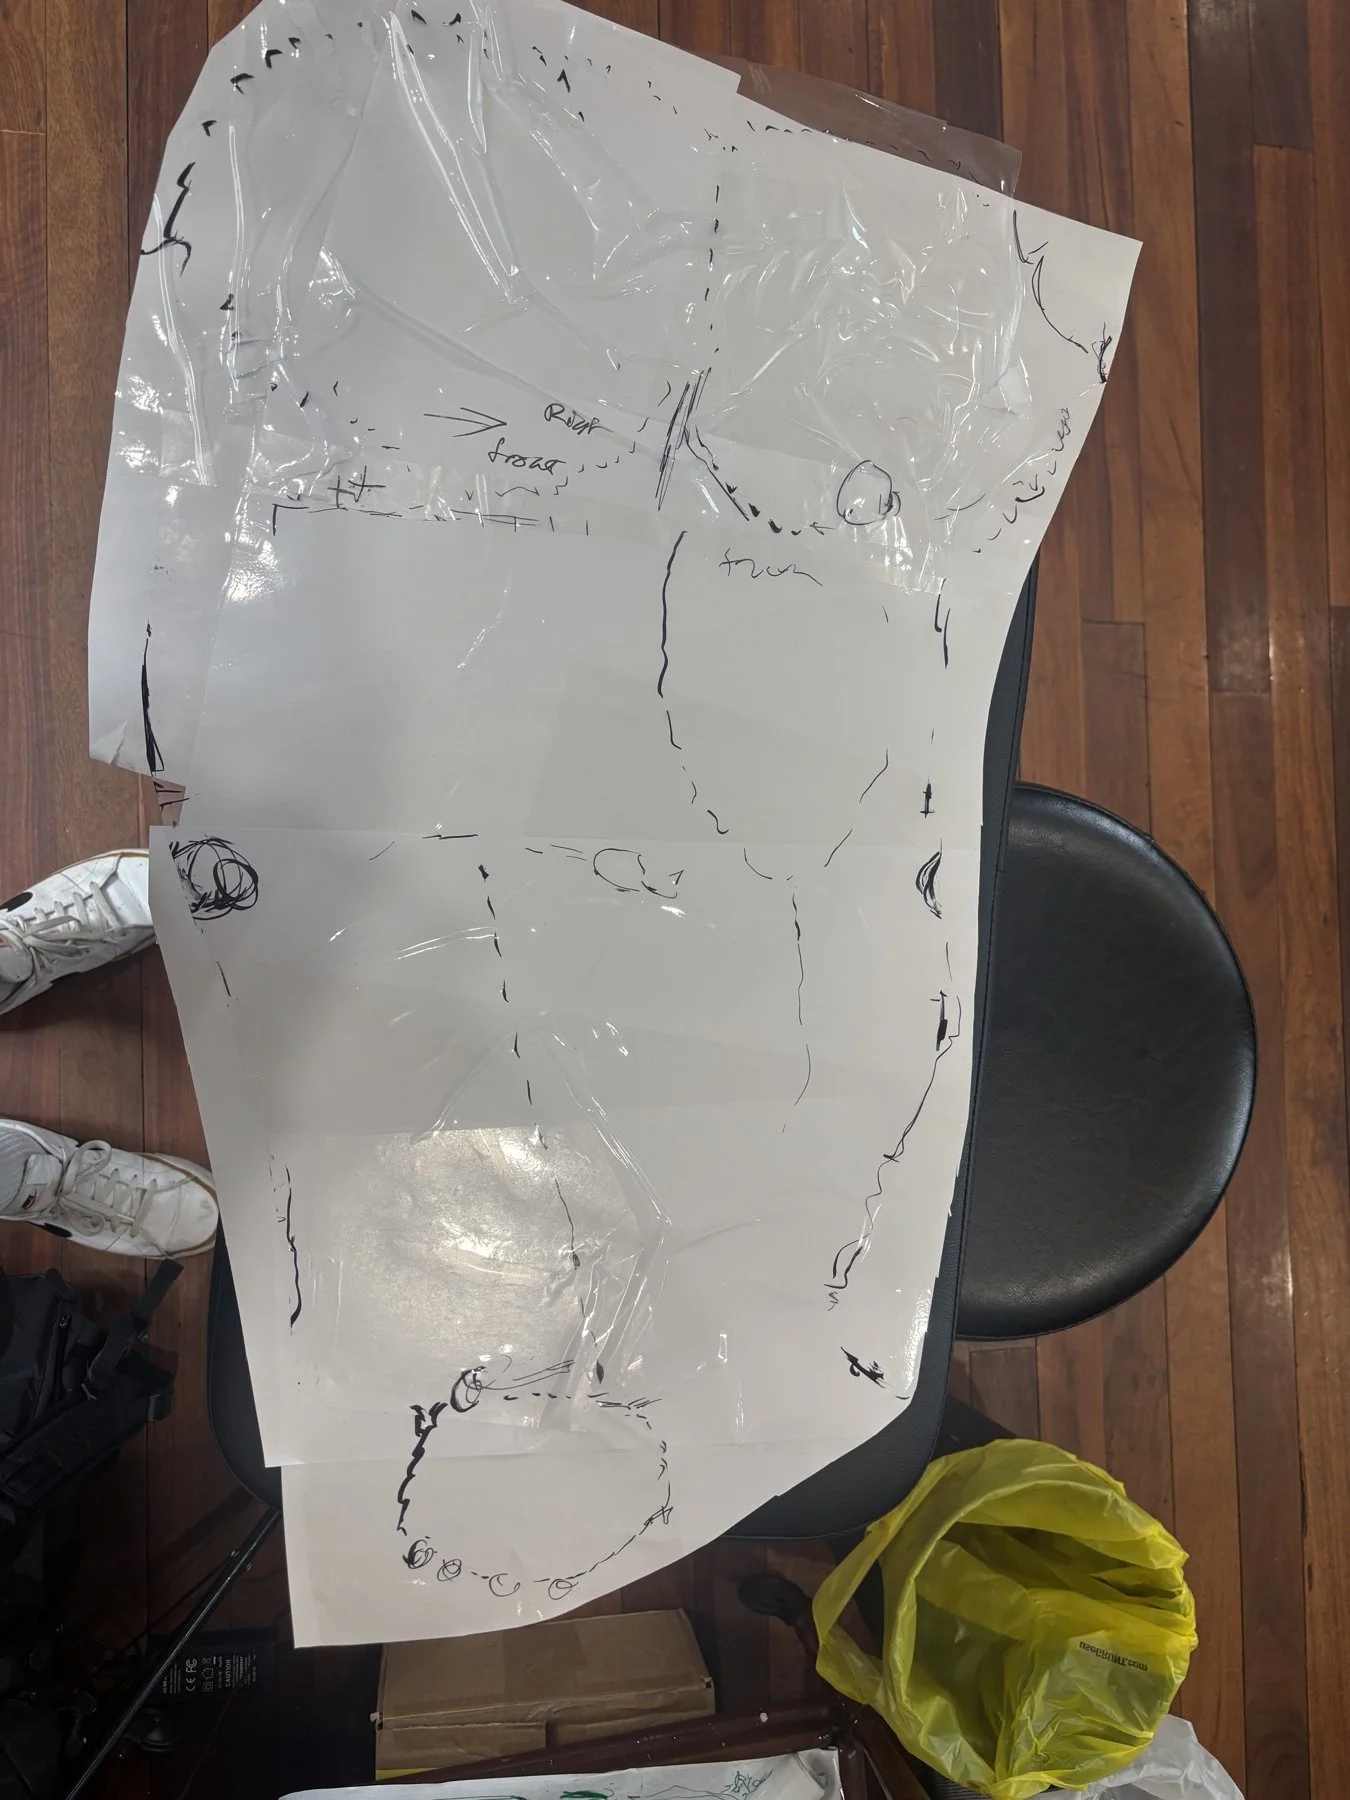
He lives a fair way out of the city, so we lined up our first chat with a day he was already coming in for work. We talked through his ideas for a Buddha and lotus sleeve, and I took a tracing of his arm to start drawing everything up.
The tracing in the photos might look a bit funny. I use adhesive book-covering plastic, the stuff you can get at Officeworks. It sticks nicely, it’s strong, and it works really well for tracing the shape of an arm so I’ve got something to work from.
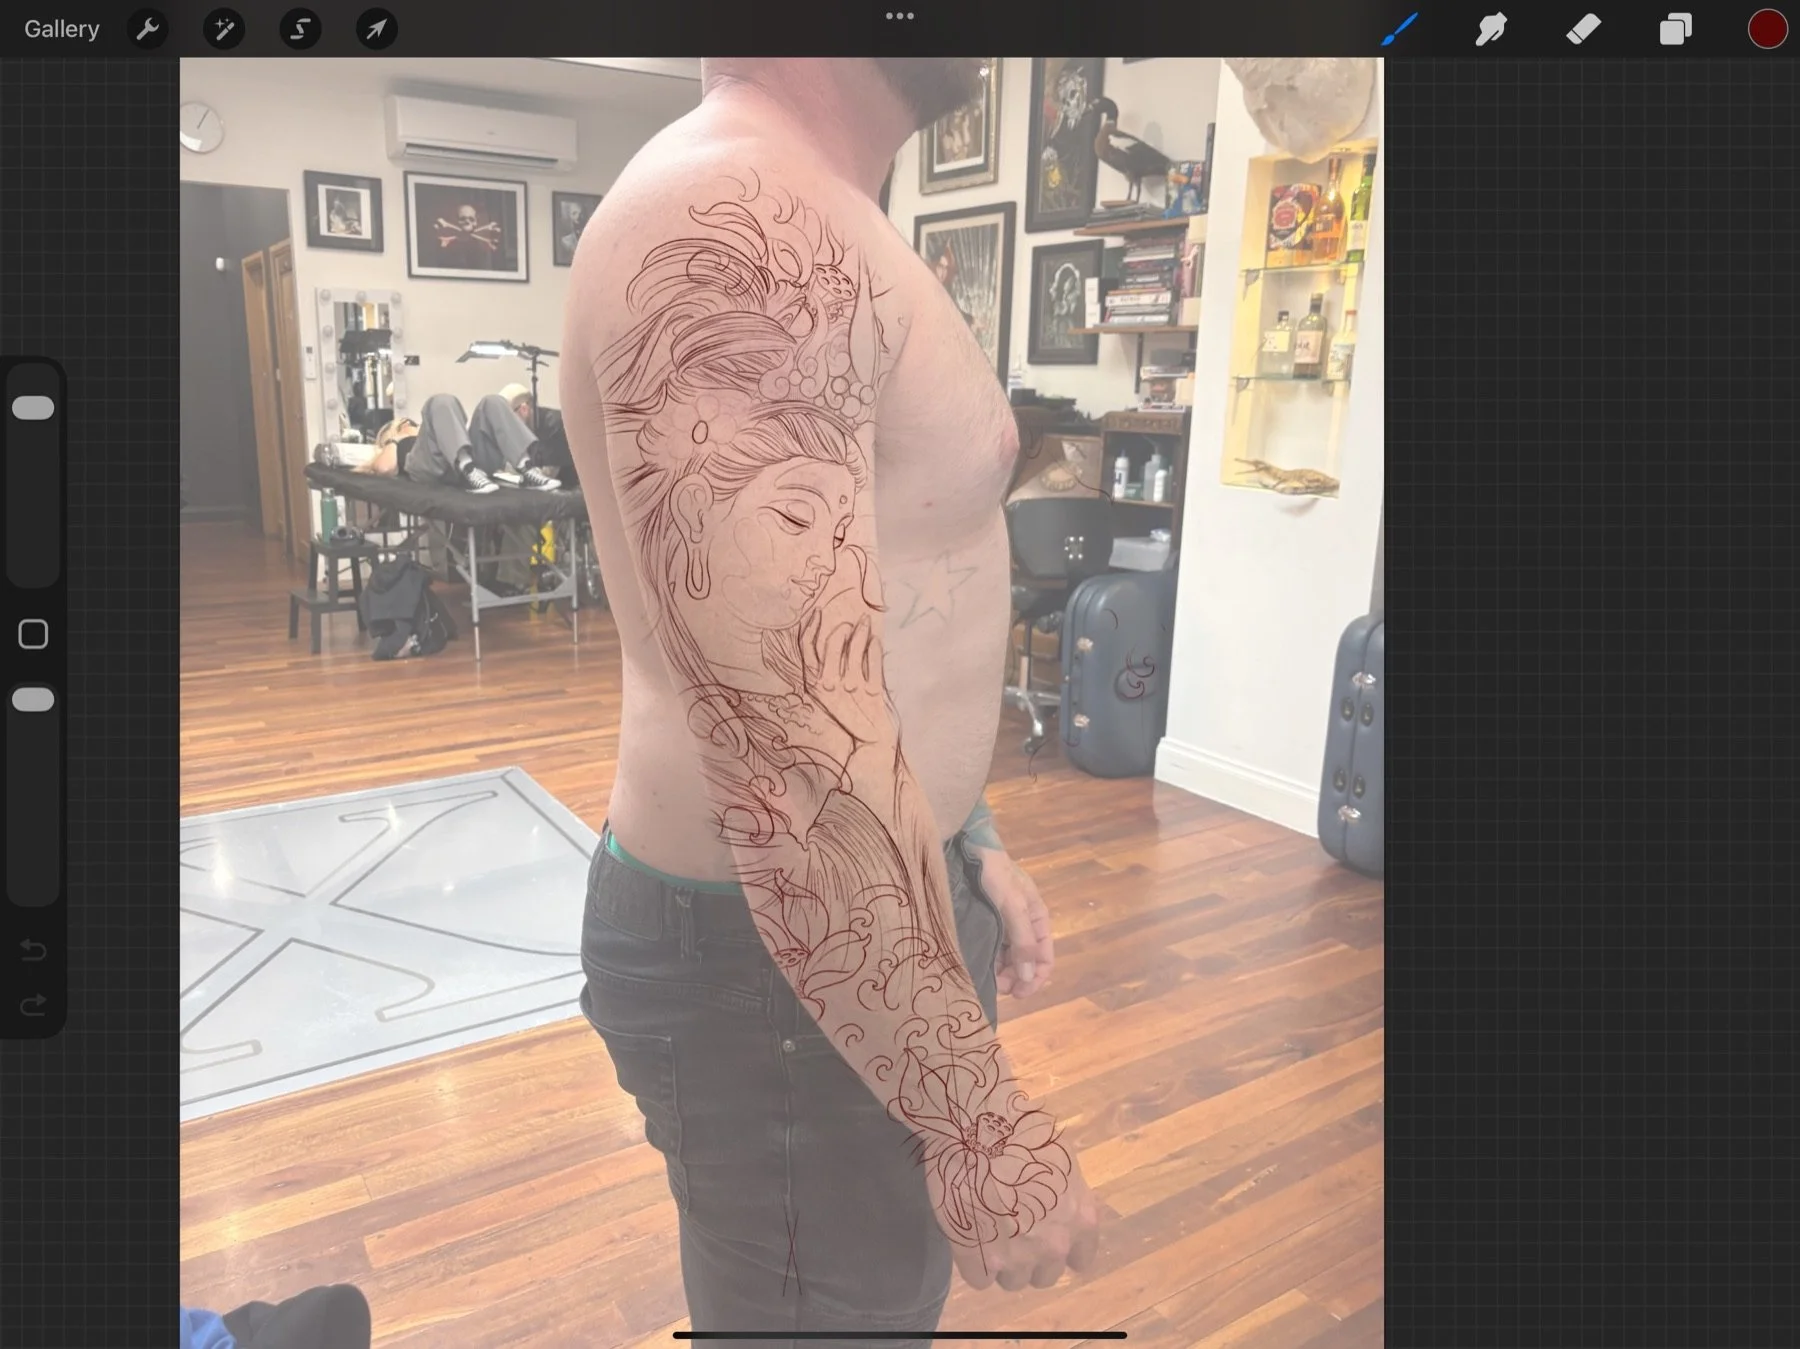
From there, I finished the design on my iPad. Wade loved it, so we were ready to get stuck in.
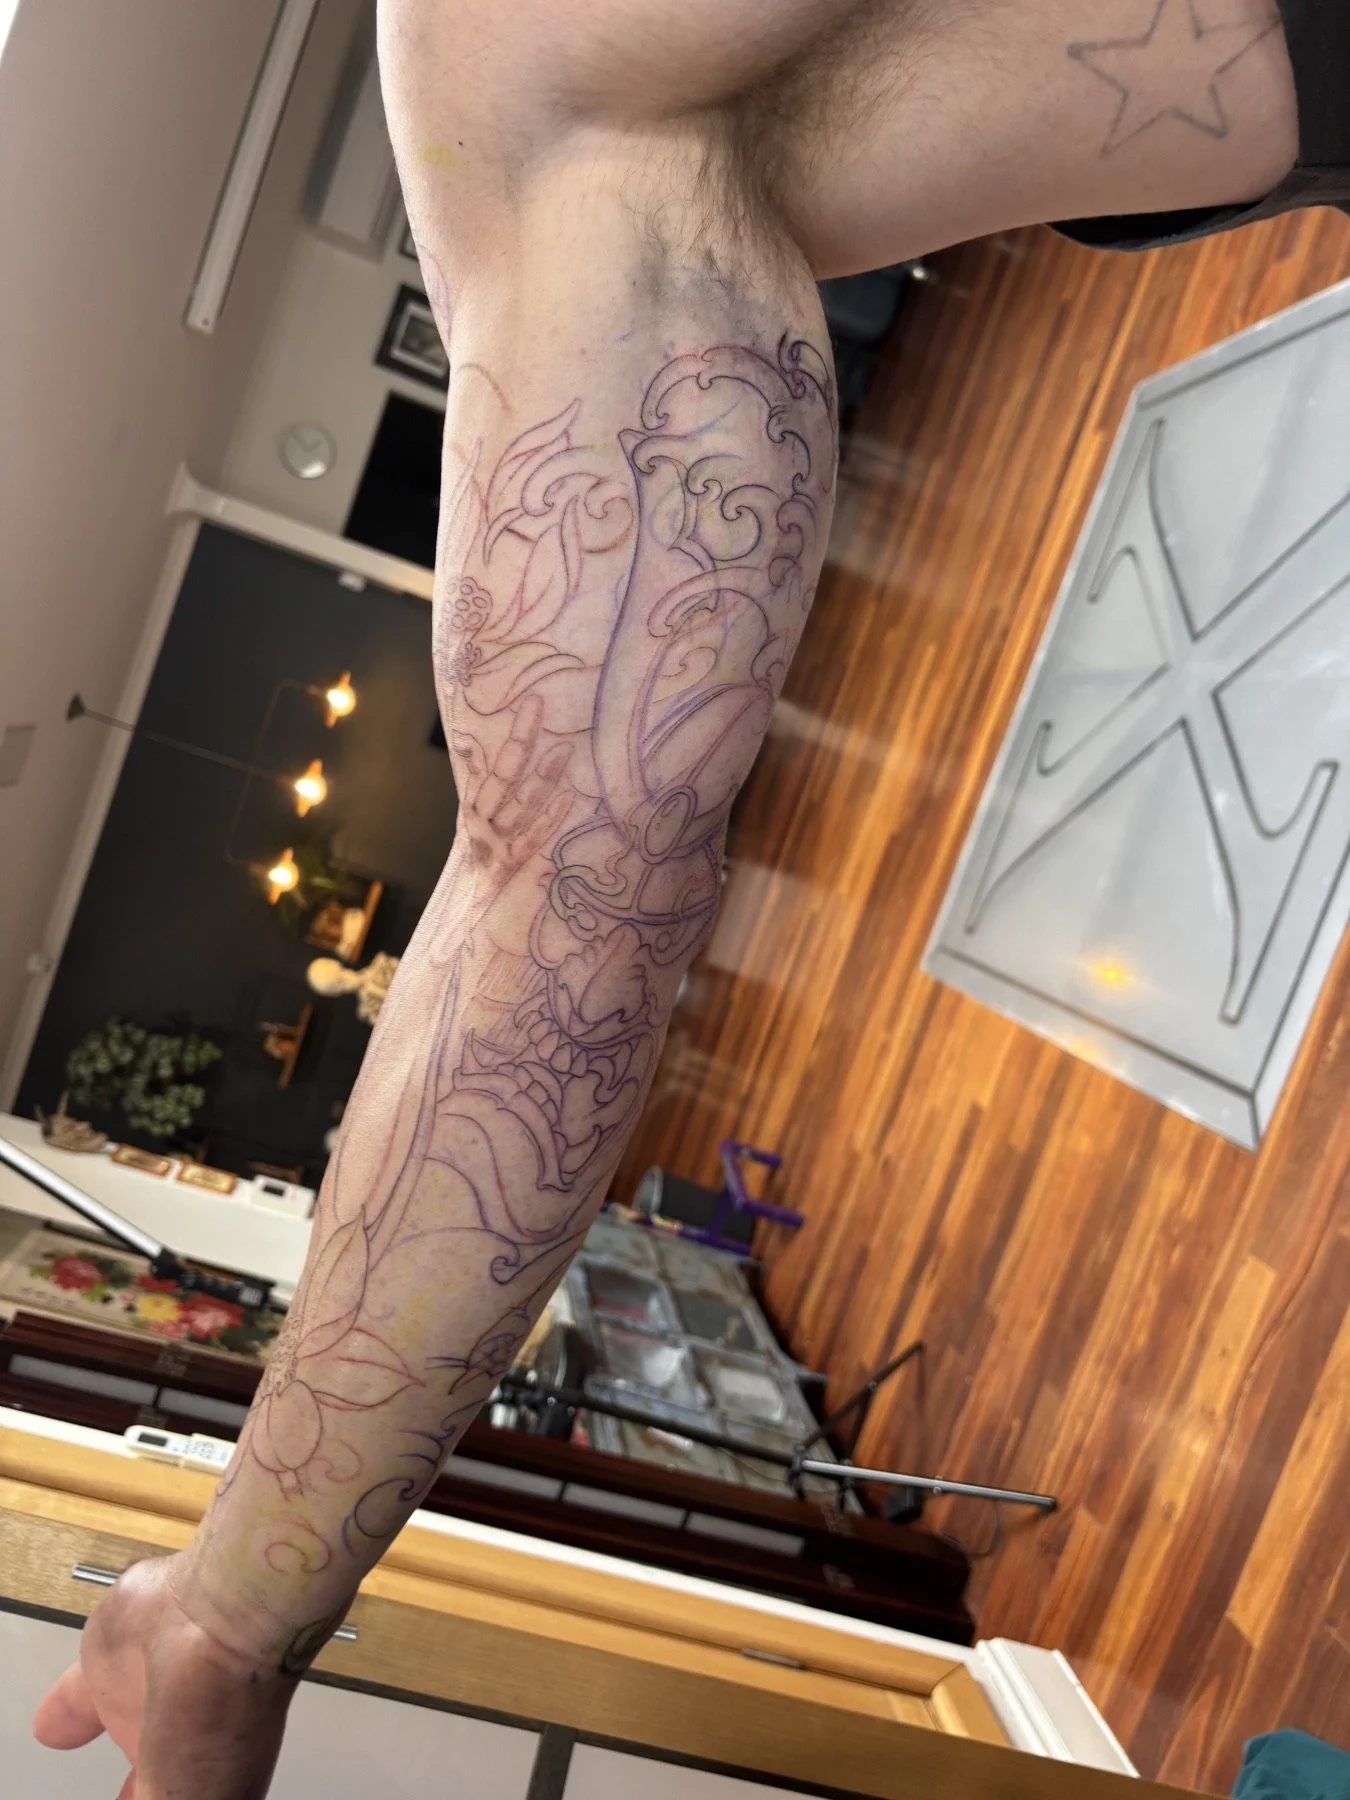
Our first session was just the grey lines. You can see how light and rough everything looks at that stage. It’s a quick way of getting a permanent stencil onto the arm, giving me a guide to work from when we come back to it.
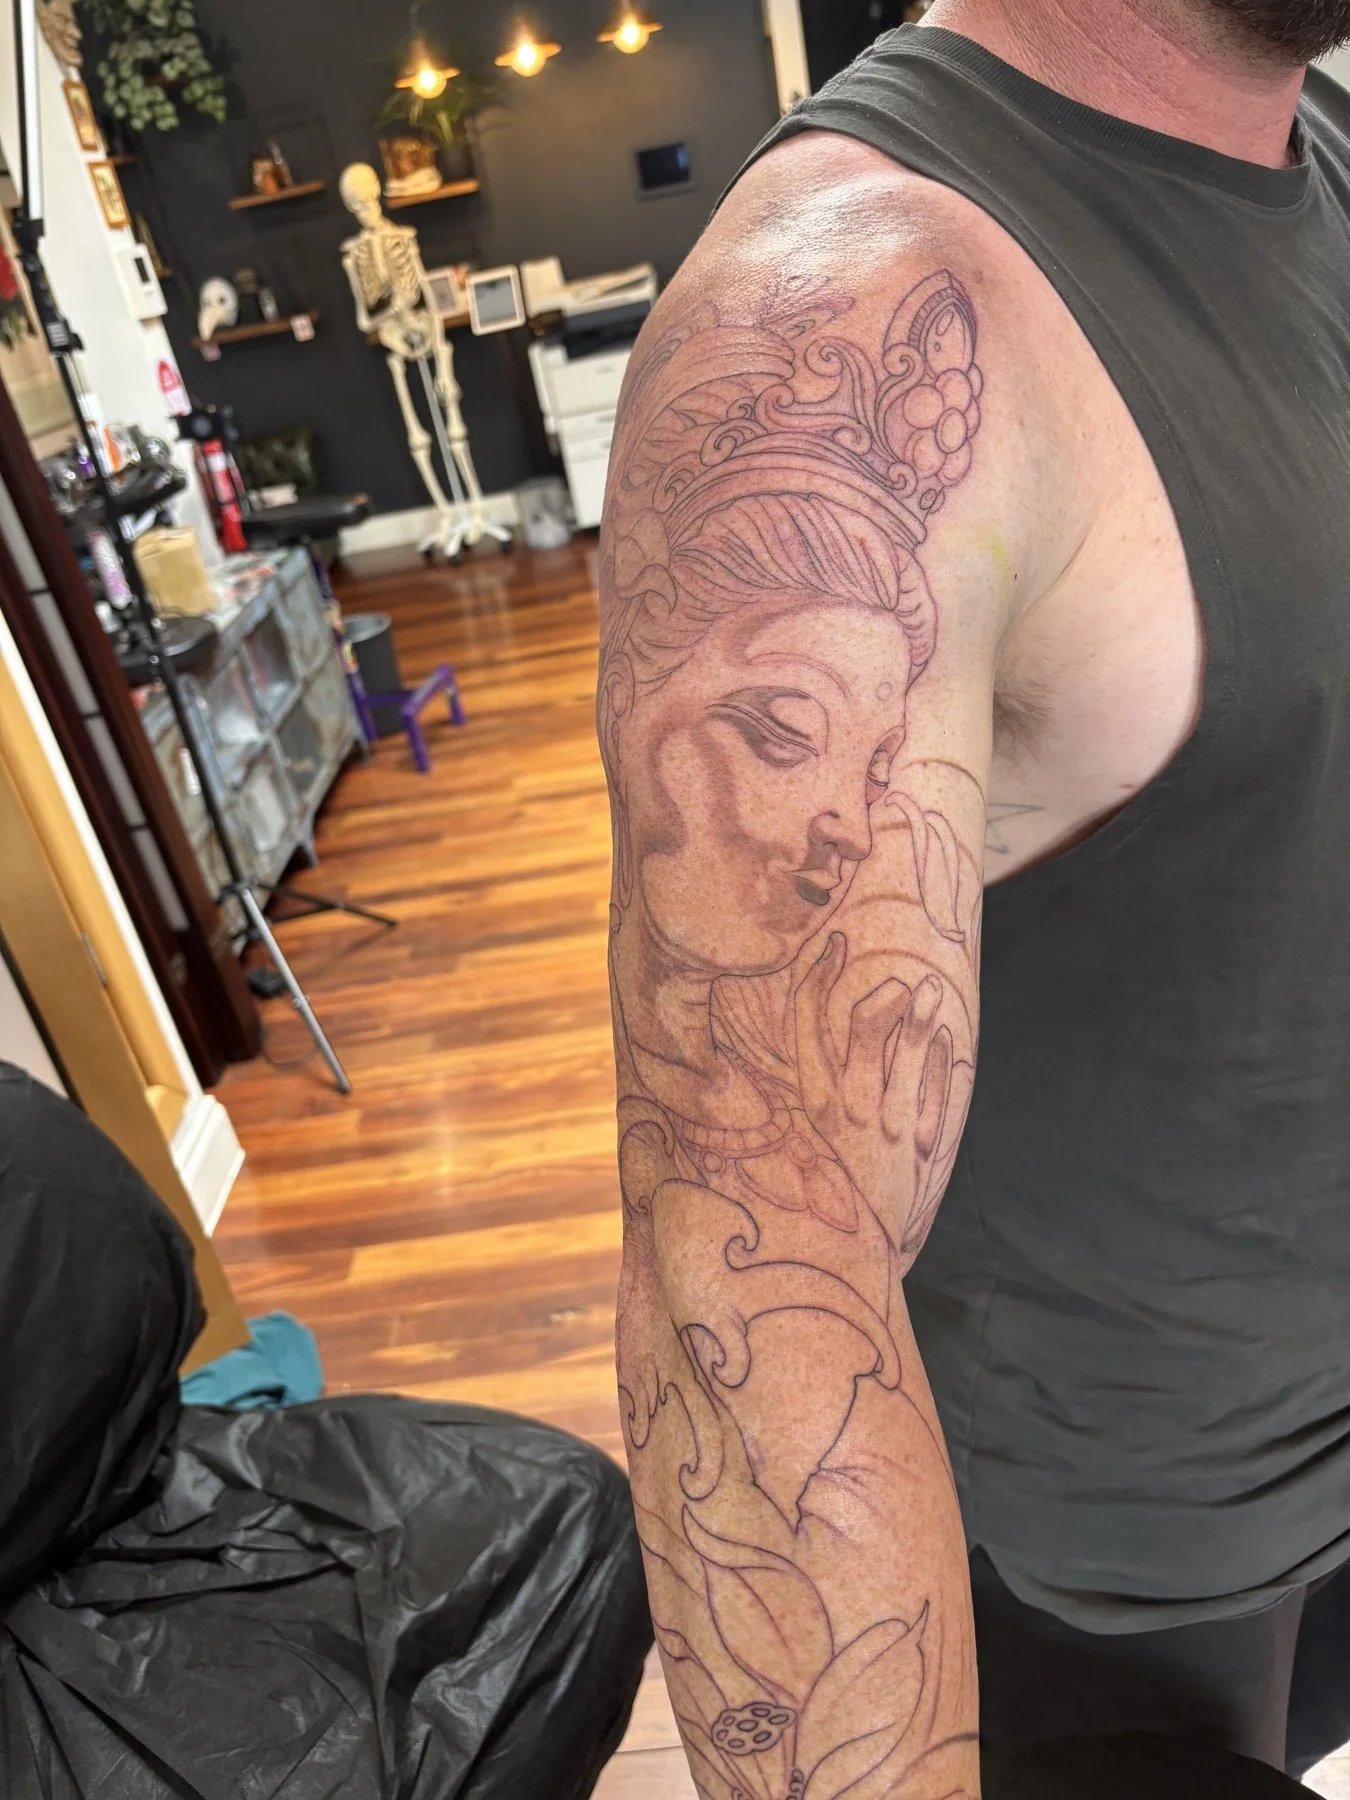
Then we started building up the shading. It looks very dark in those two progress photos because it’s freshly done, but you can already see the sleeve coming together.
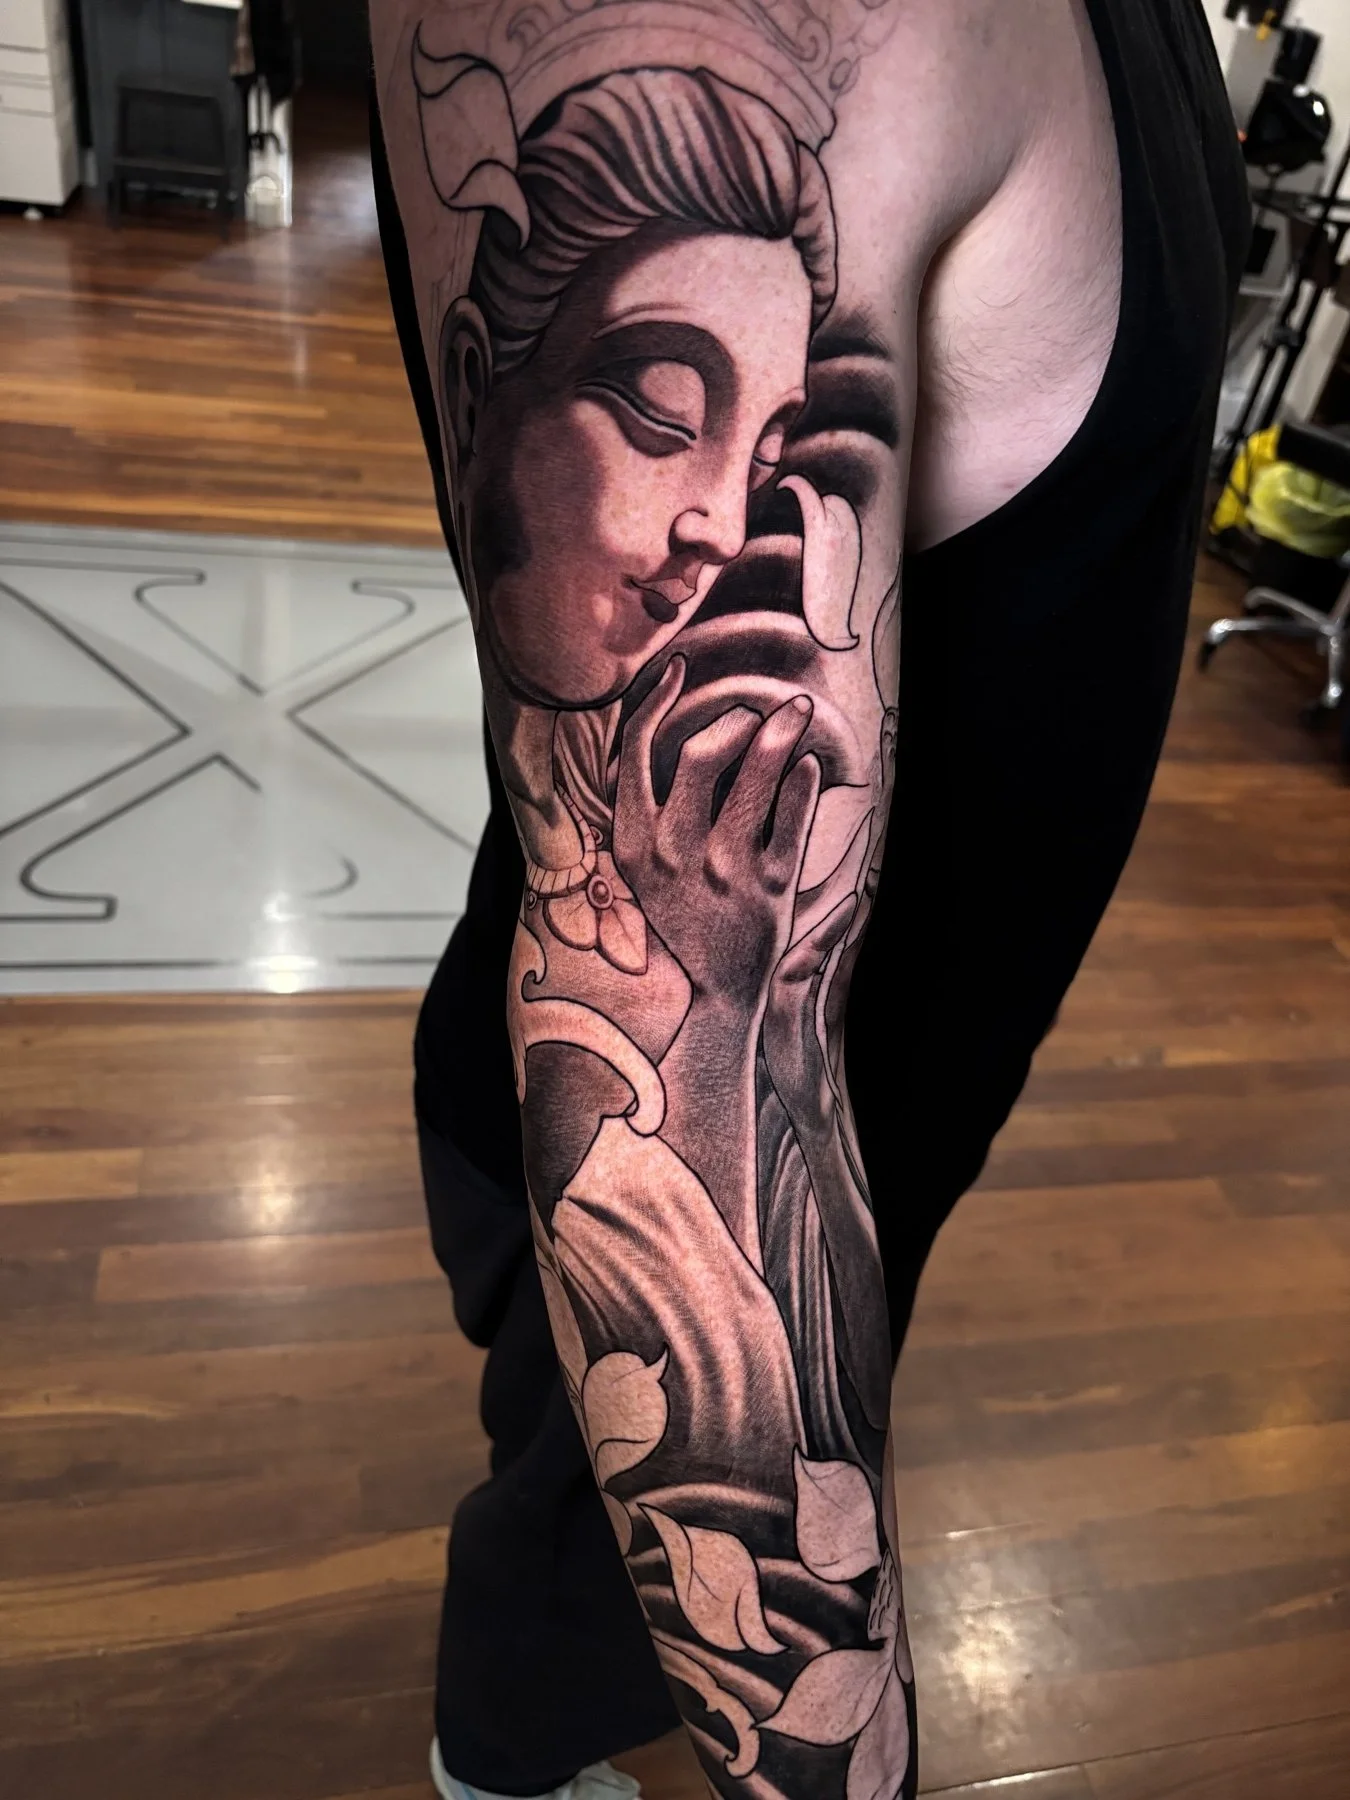
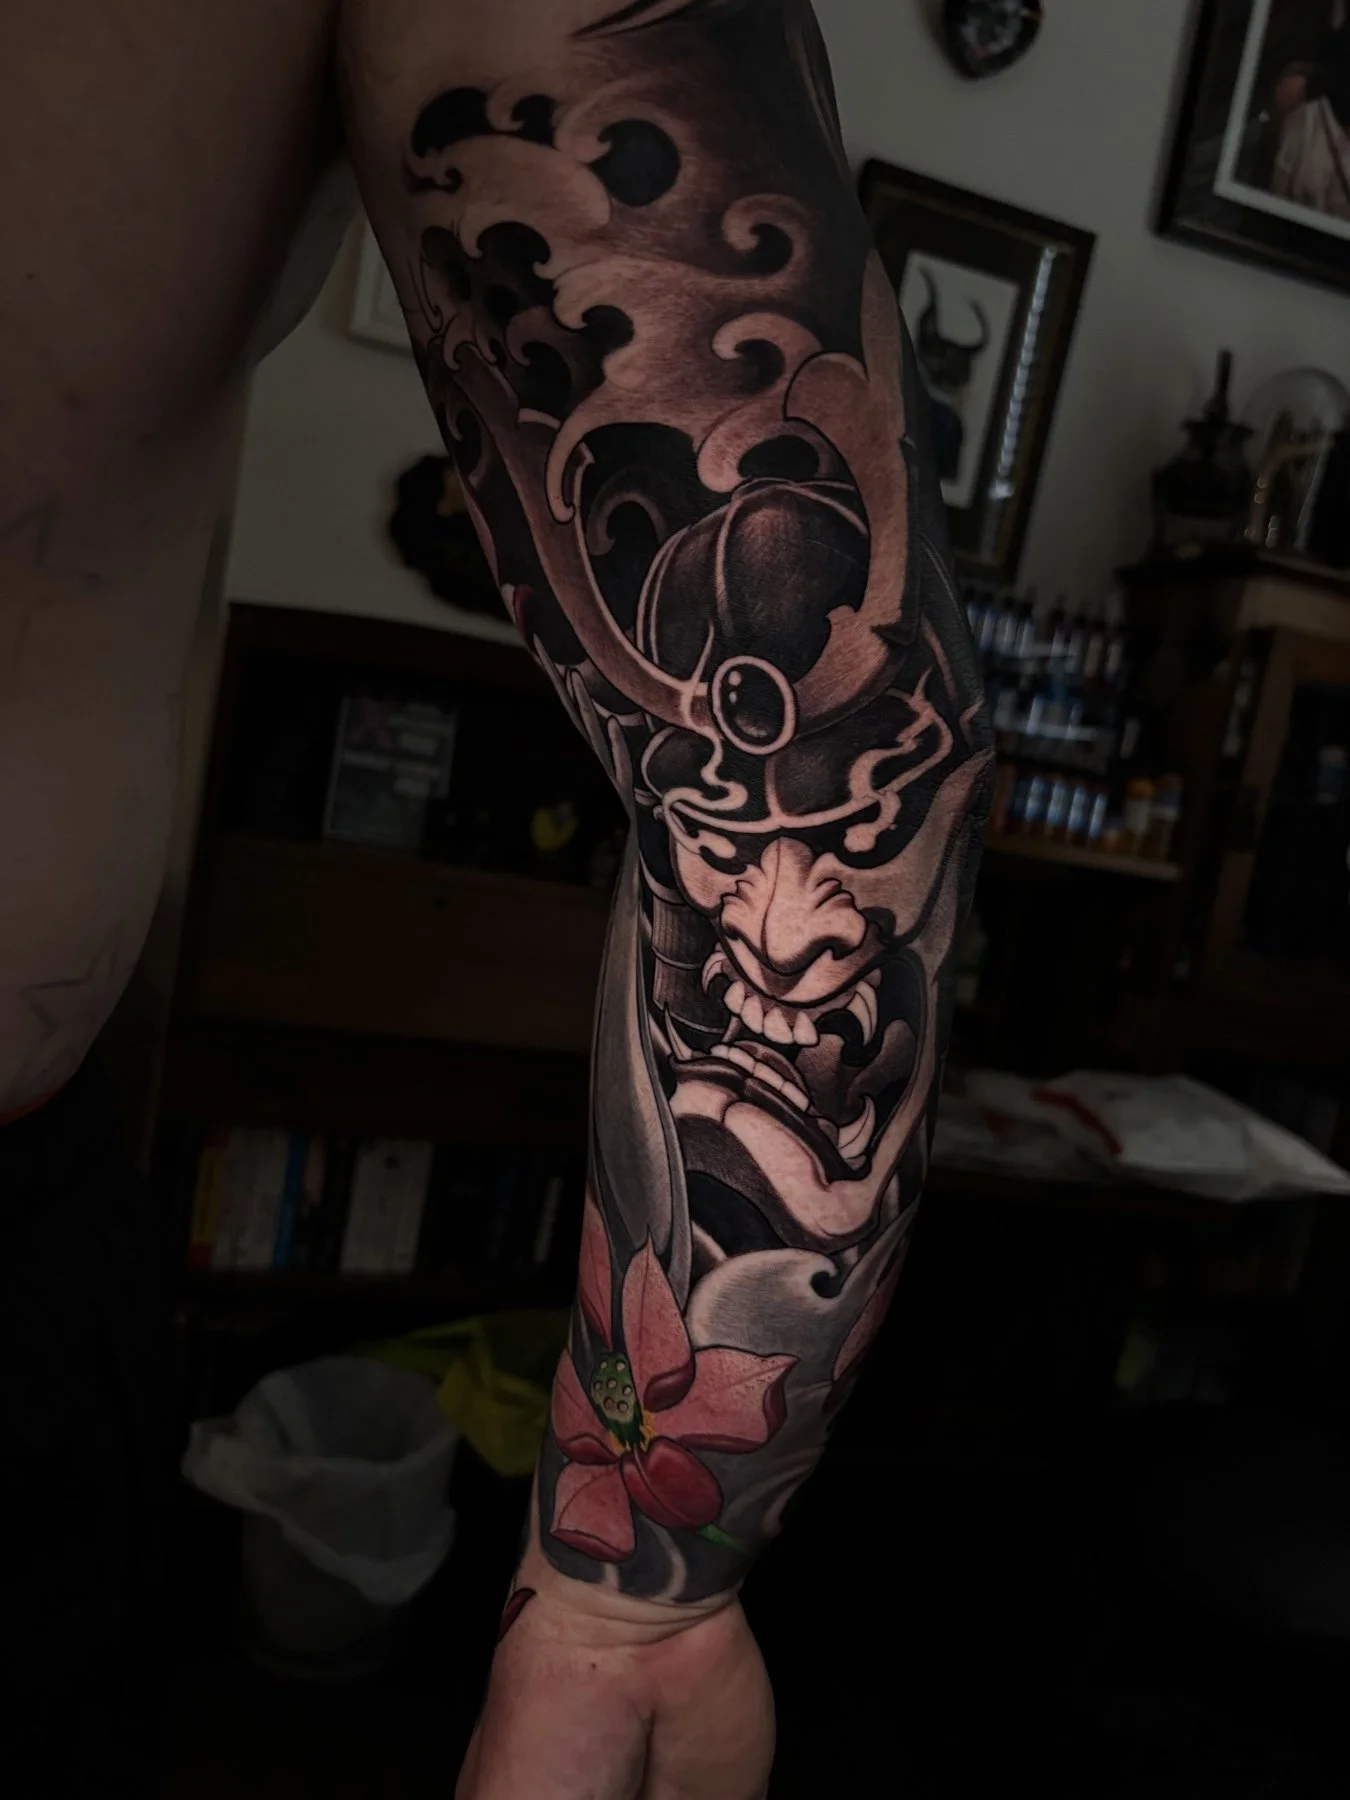
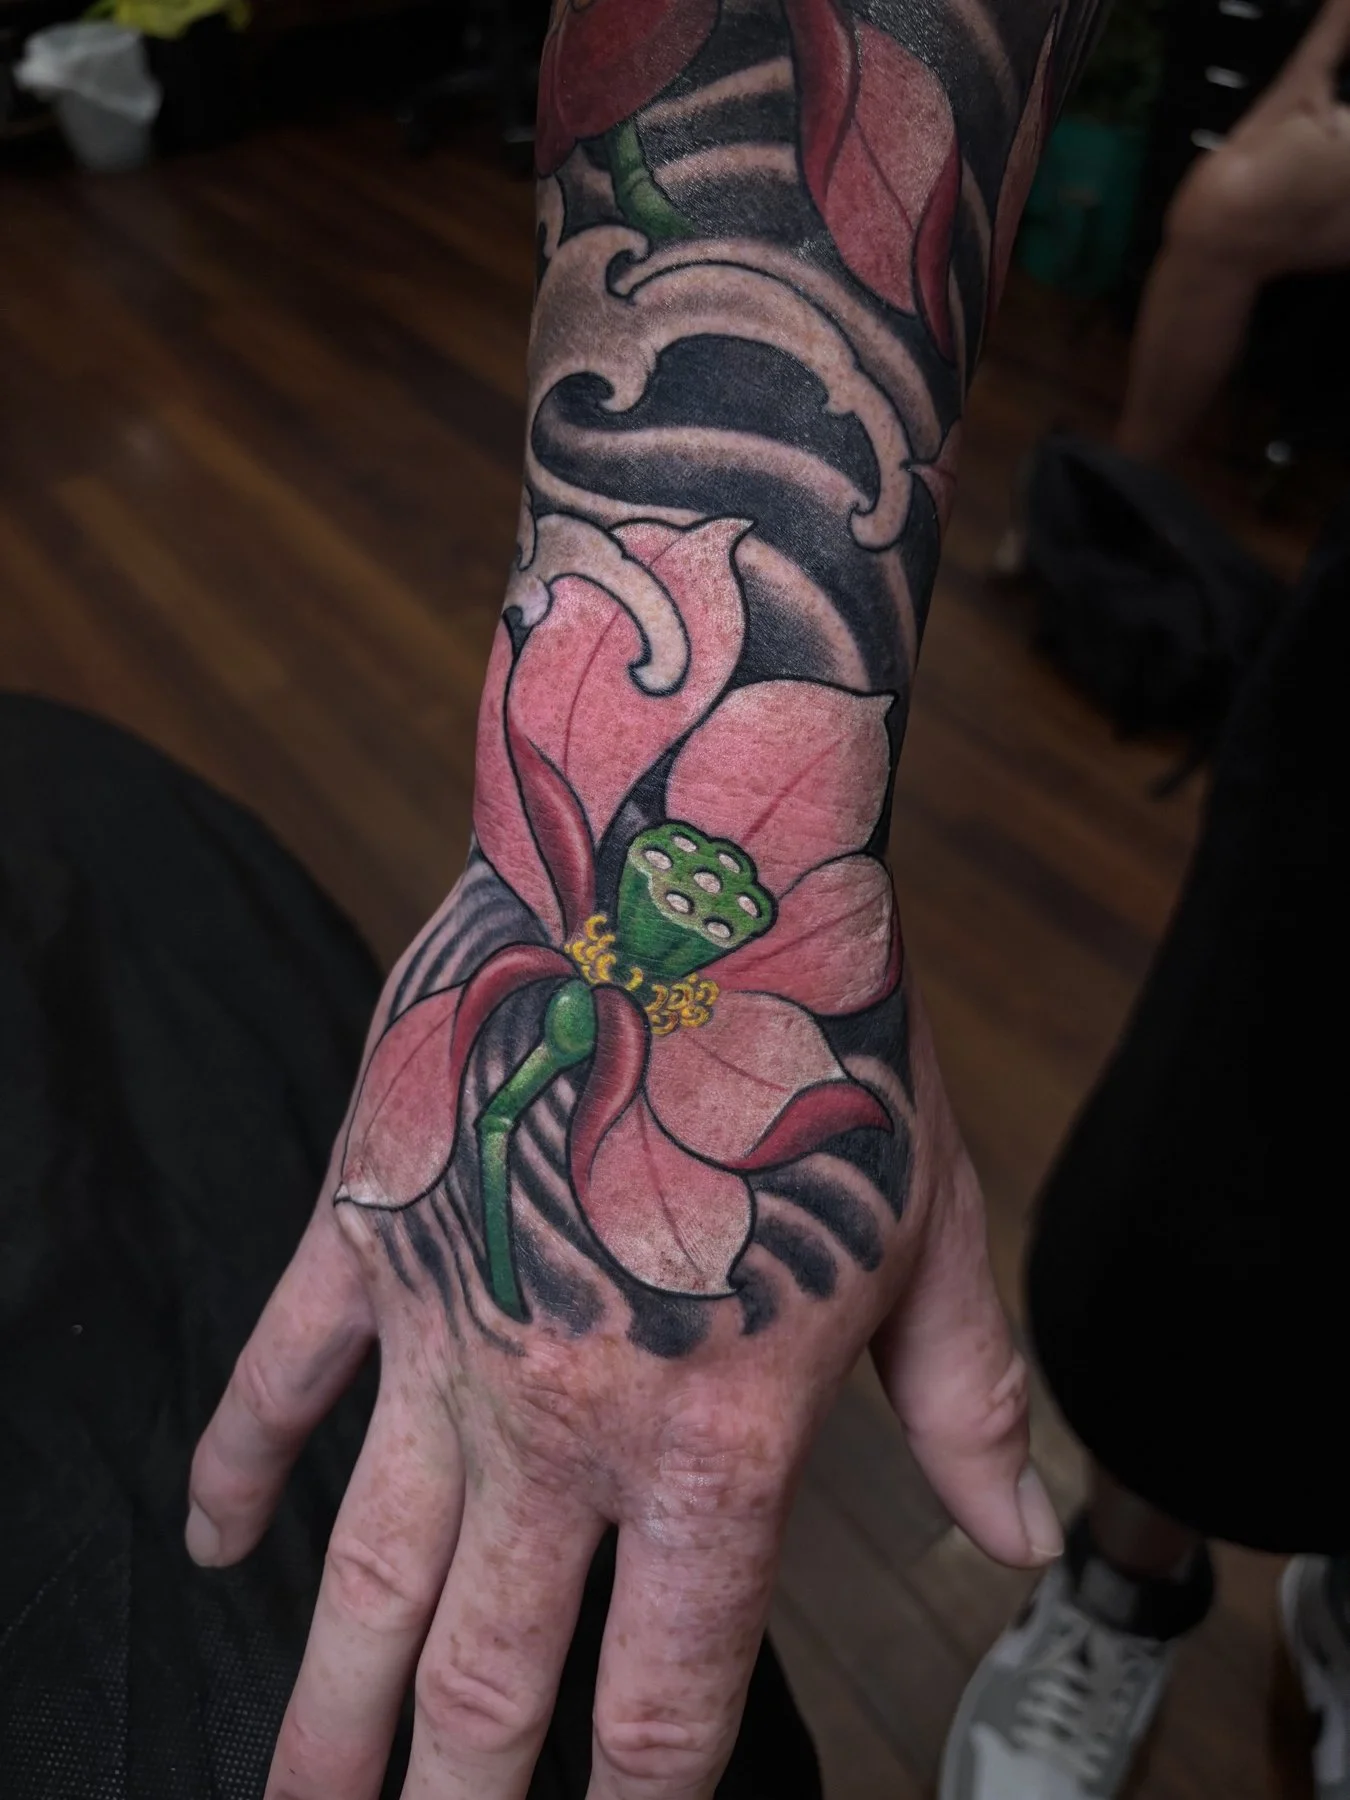
After that, we added the colour to the lotus flowers and worked through the remaining bits of background here and there. I’m super happy with how the whole thing turned out.
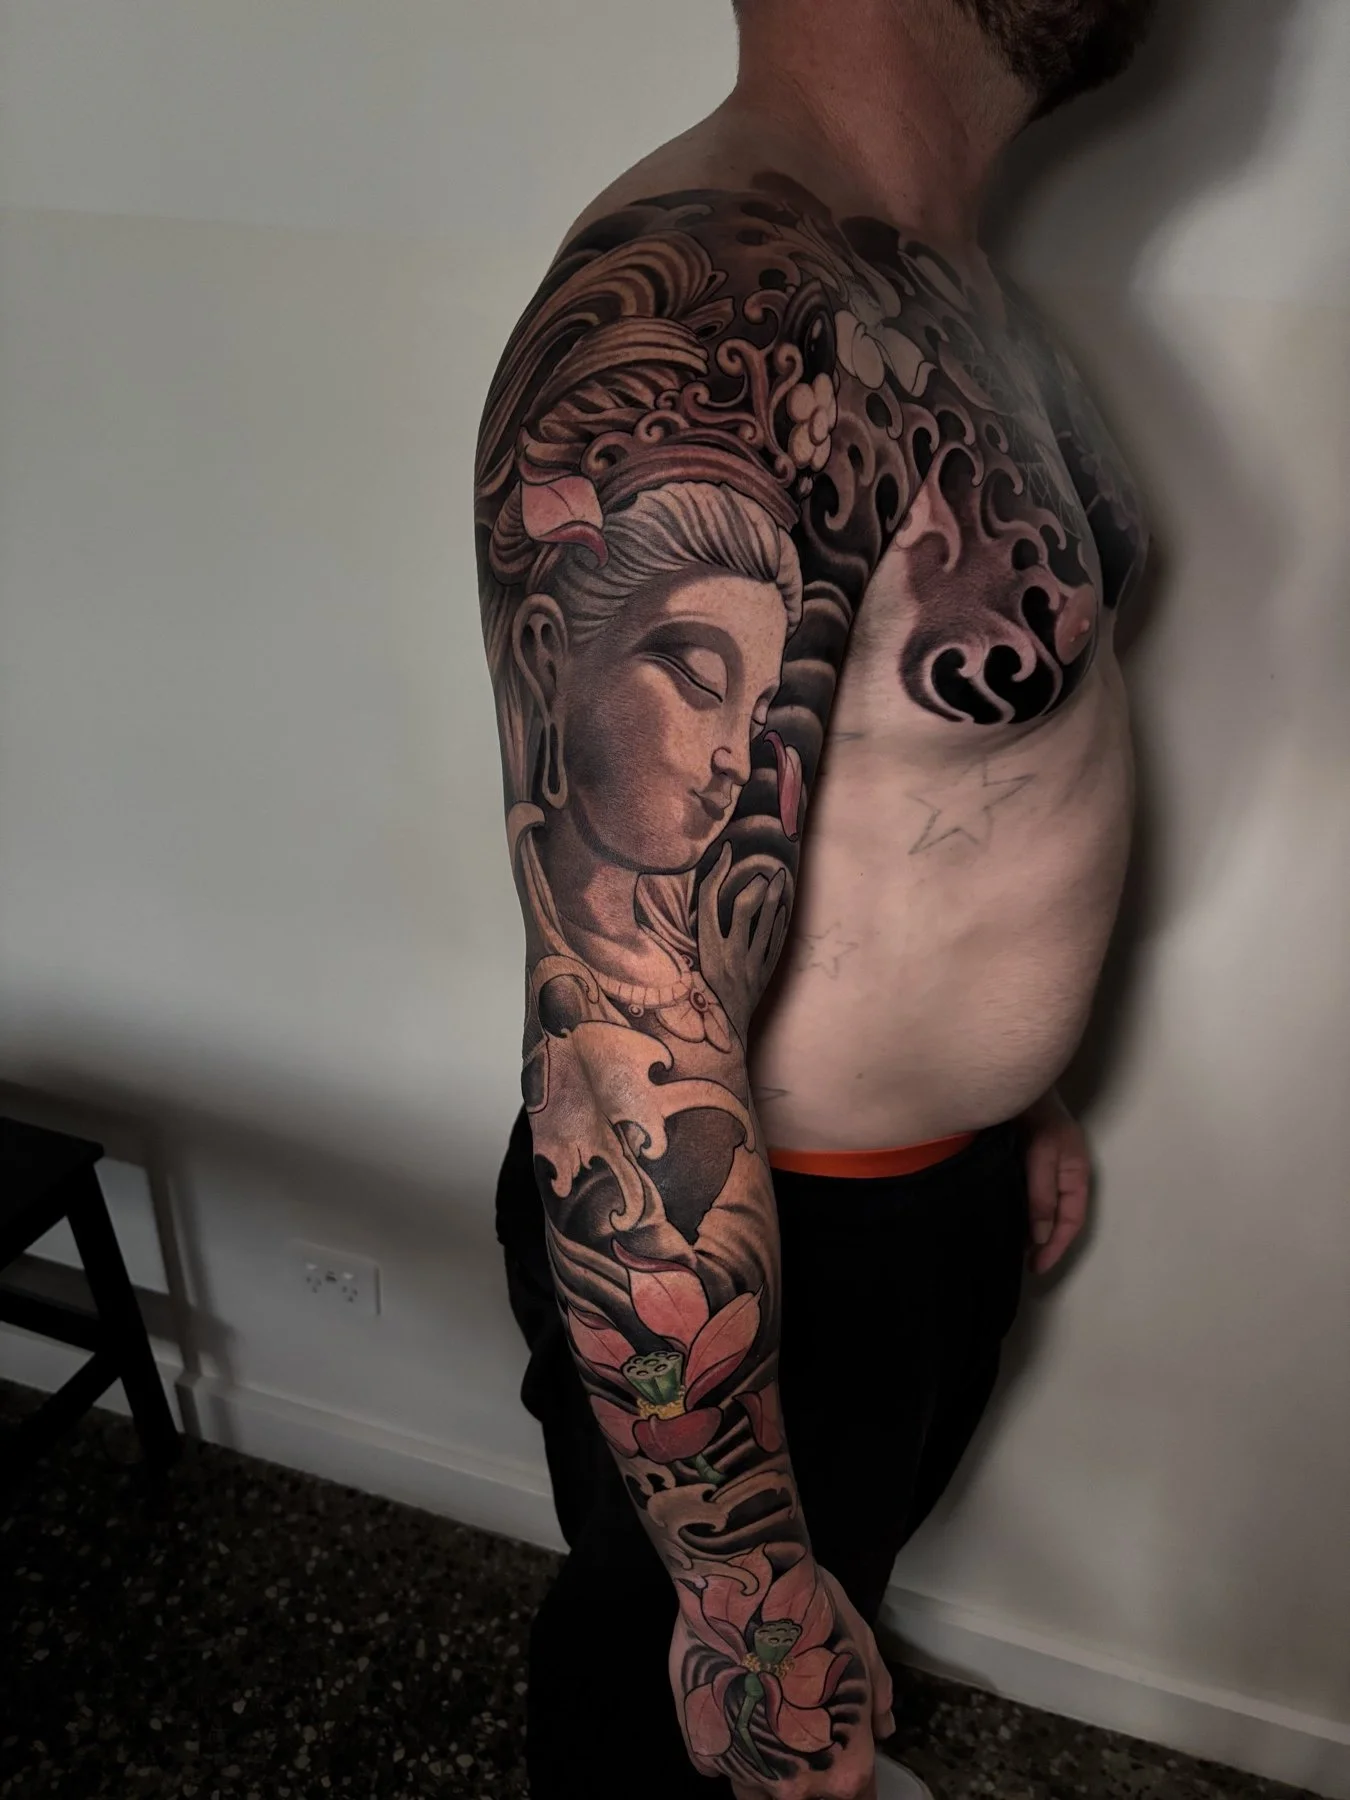
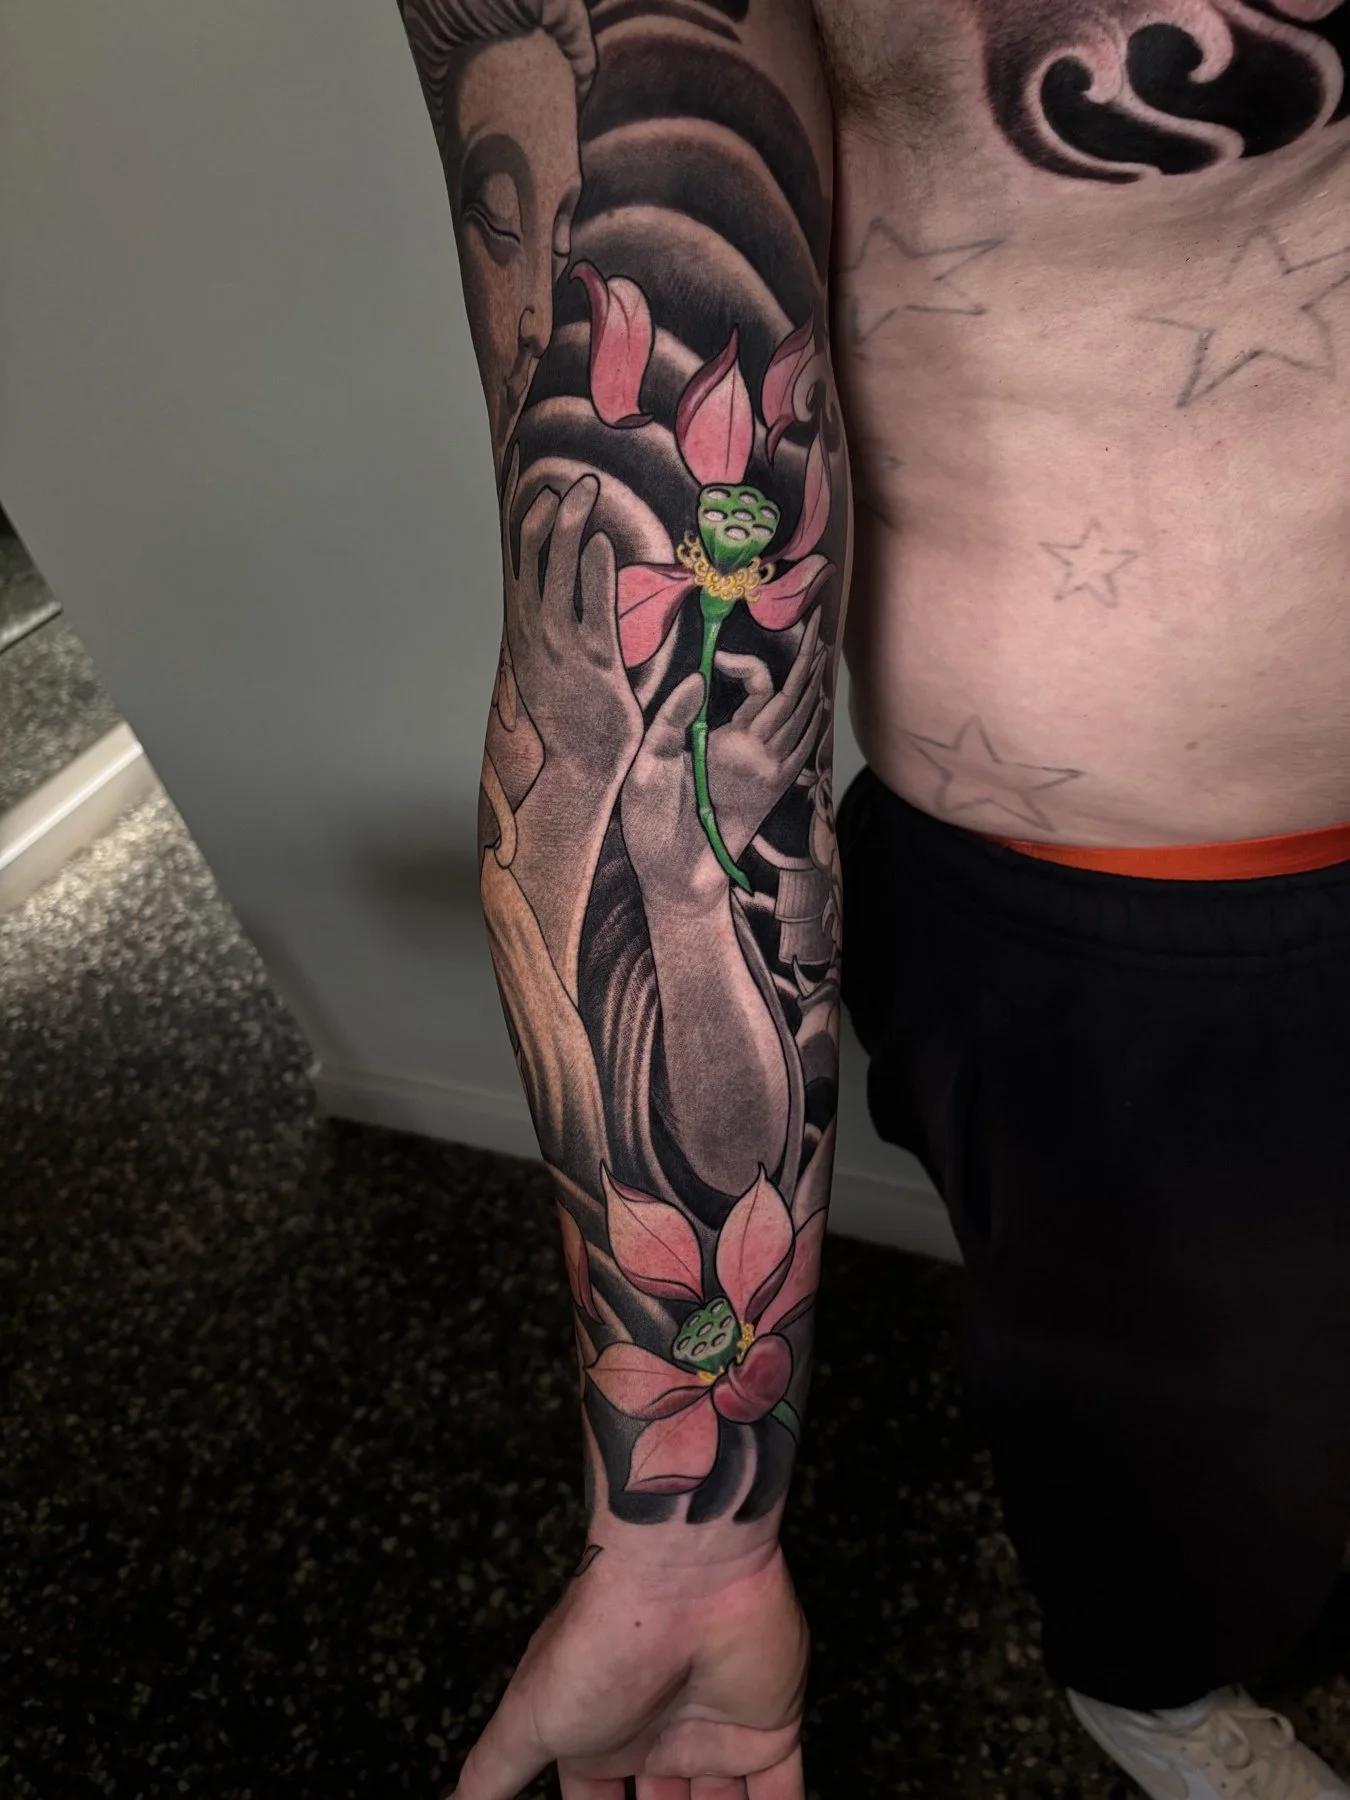
Wade’s just a stand-up guy and has been amazing to work with. He makes the long trip into Melbourne every time, and I’m really grateful for that. It’s awesome having clients who keep showing up and trusting you with these bigger projects.
Since finishing the sleeve, we’ve also done his chest, which is a whole story of its own, and reworked an older tattoo on his other hand. We’re working on his back now too, so there’s plenty more to show you later.
Thanks again, Wade. Stay awesome!
Nicklas
Got an idea for a sleeve? Get in touch and let’s have a chat.